

 Poland
 United States
Discover Our Cast Iron Finishes
Our finishes are grouped into three price brackets.
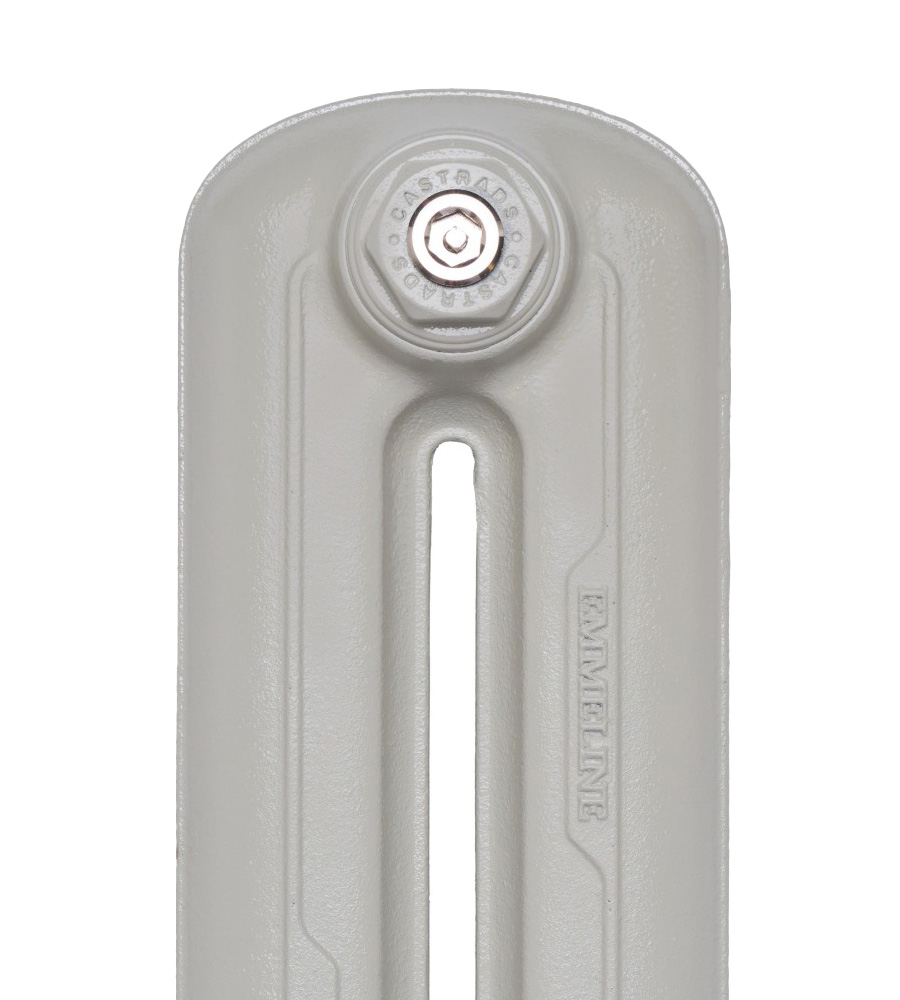
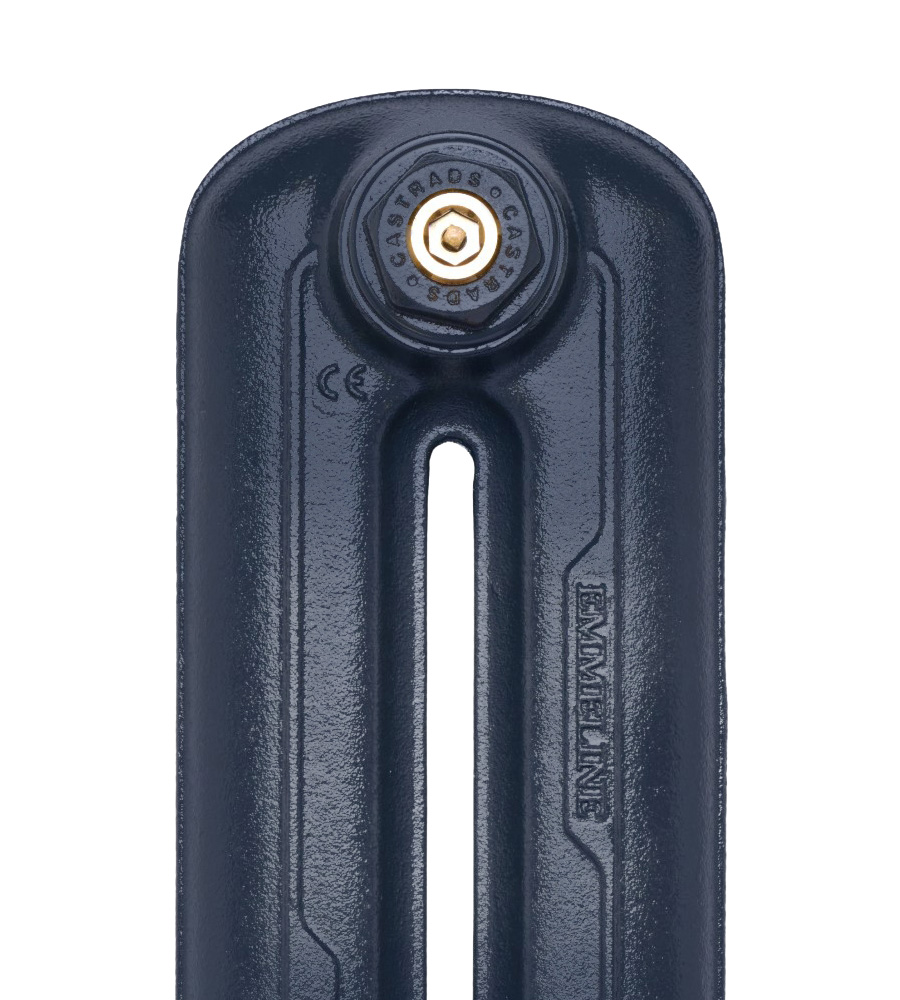
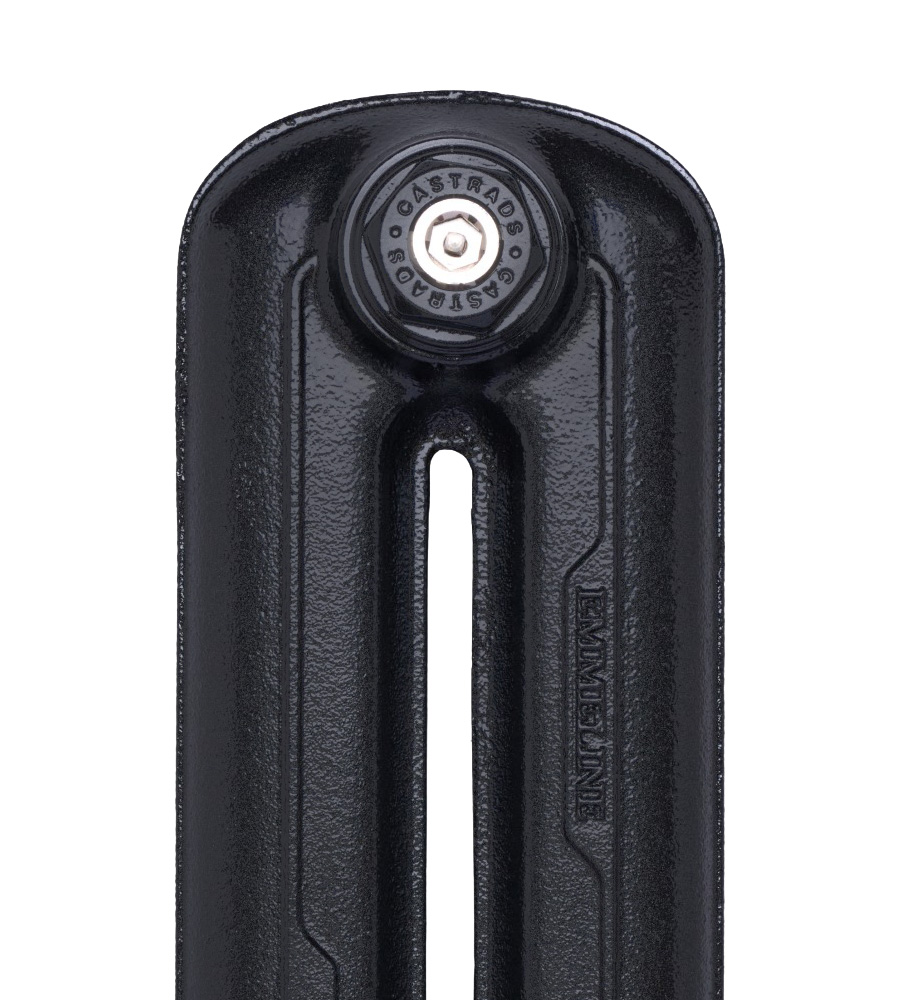
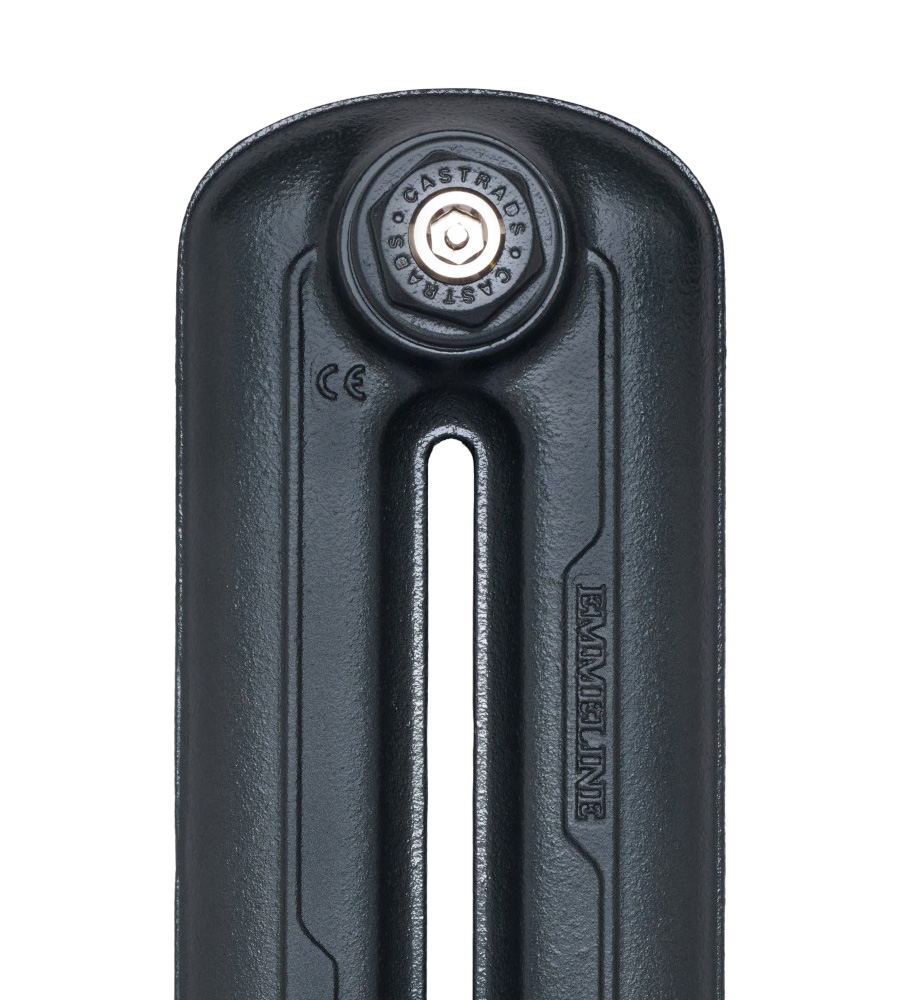
Signature Collection
Our core range of popular whites, greys and blacks. Signature collection finishes are included in the price of your radiator.
Jump To Signature CollectionBranded Paints
Choose any colour from Farrow & Ball, Little Greene, Benjamin Moore and others. Branded paints are priced at £6.92 + VAT per section.
Jump To Branded PaintsBare Metals
At the top of the range, our Bare Metal finishes are produced by hand with layers of lacquer on polished cast iron. Bare metal finishes are priced from £31.00 + VAT per section.
Jump To Bare Metal FinishesSignature Collection


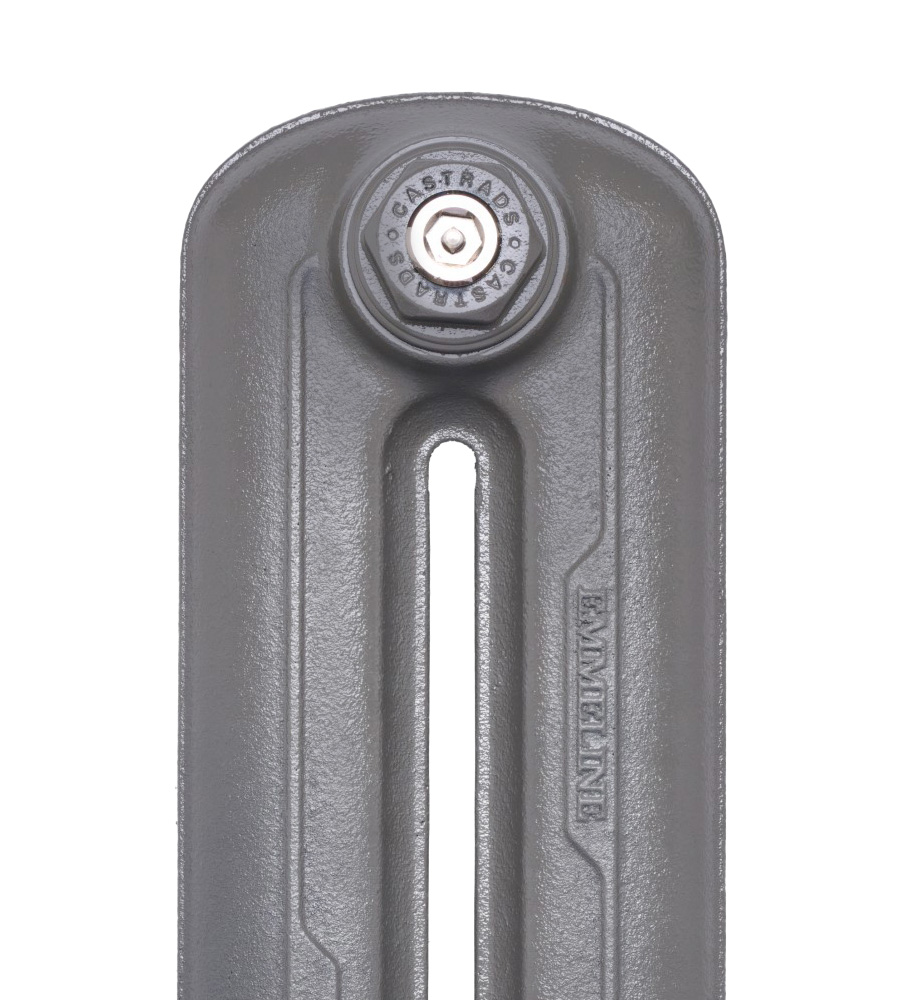
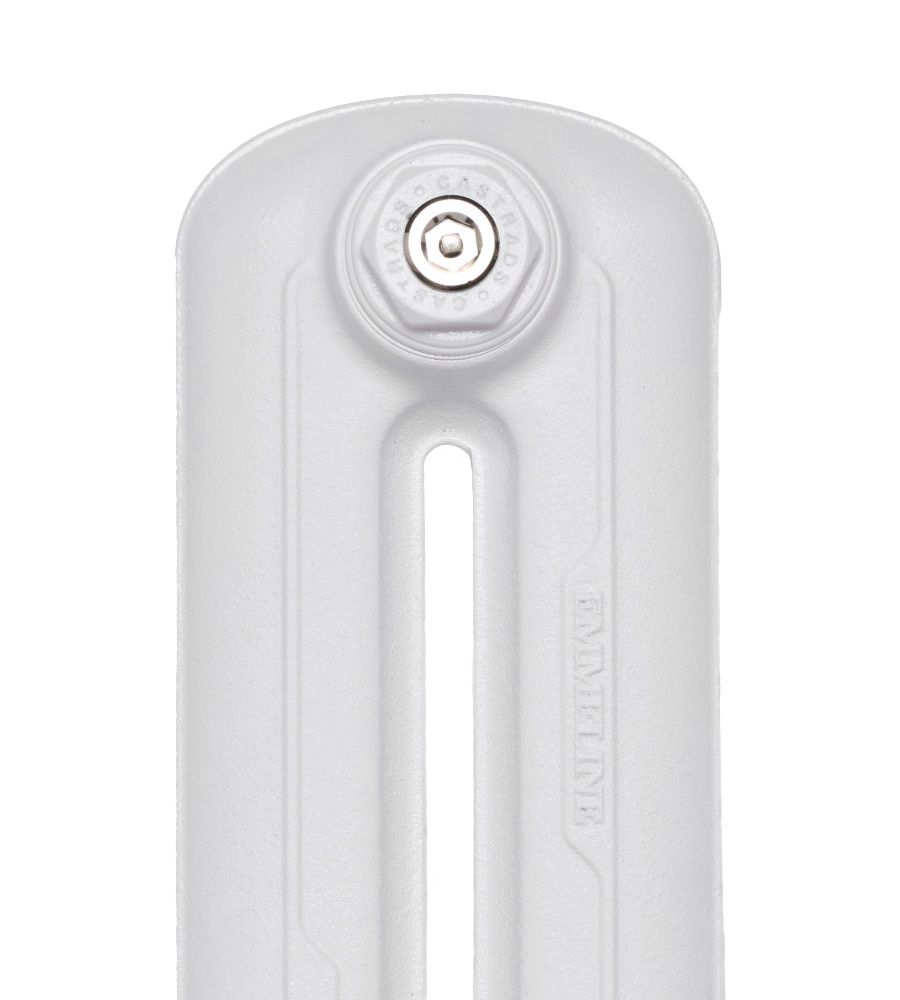
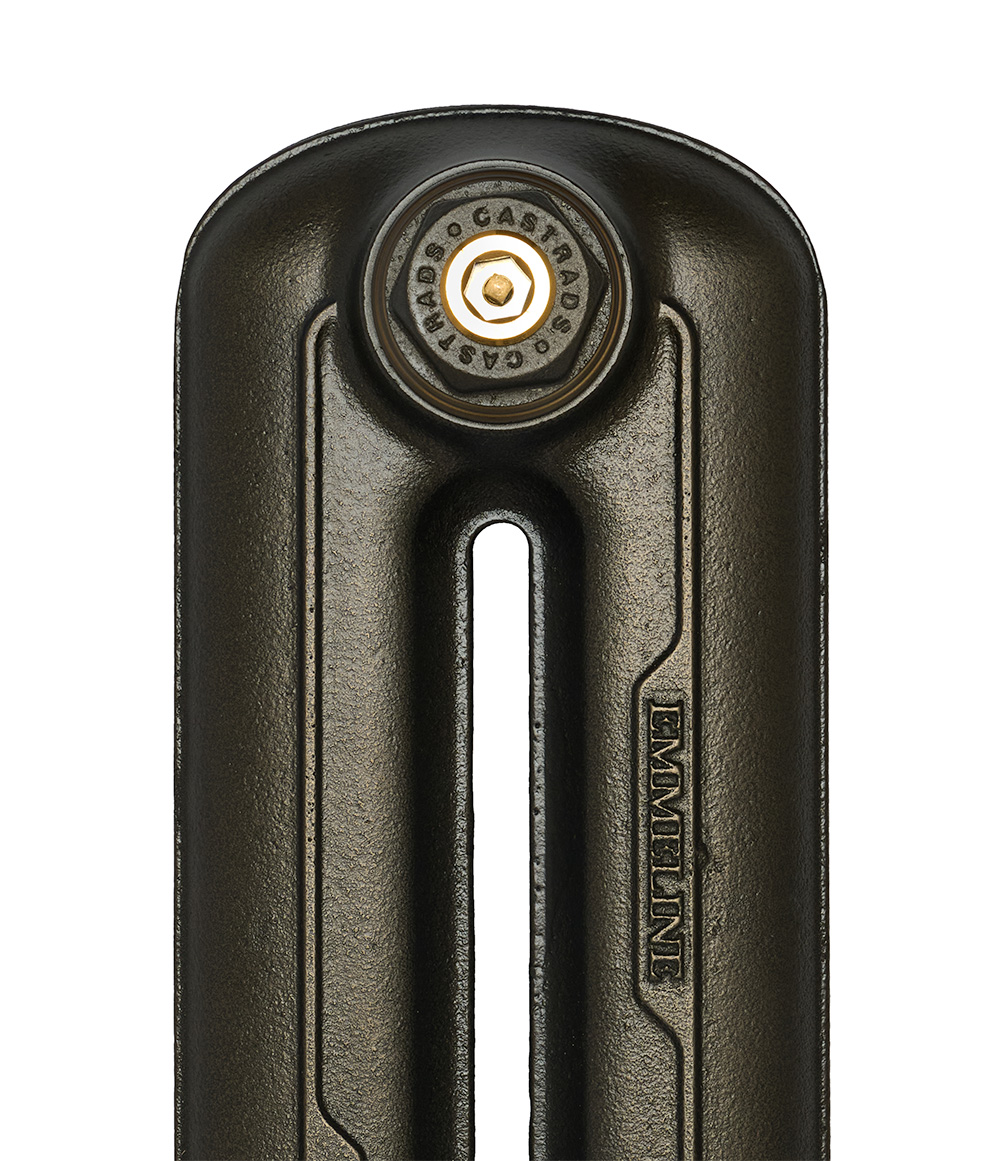
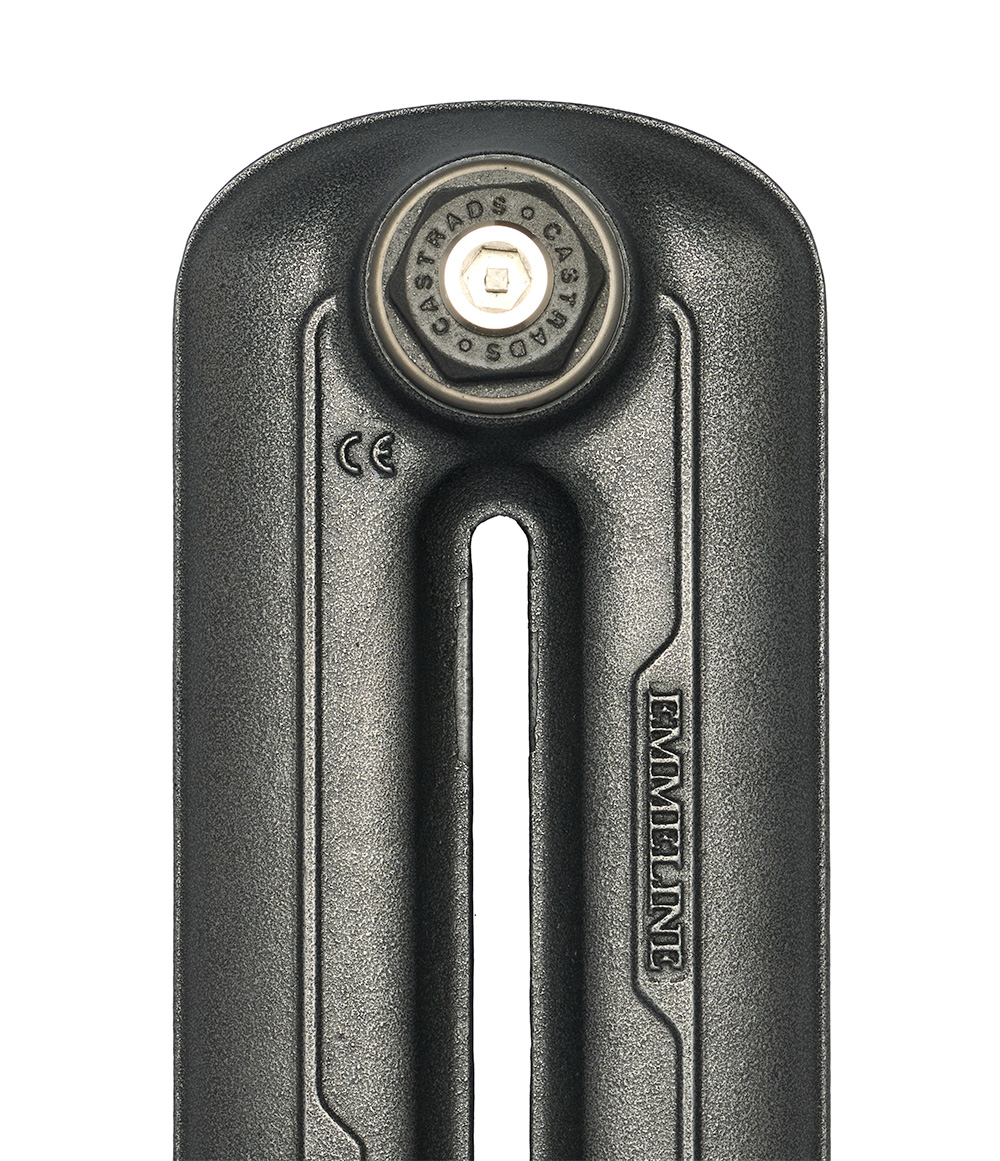
Signature Collection
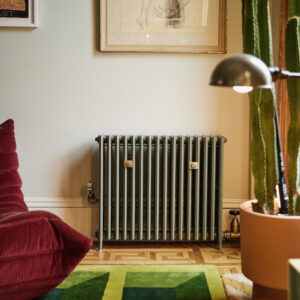
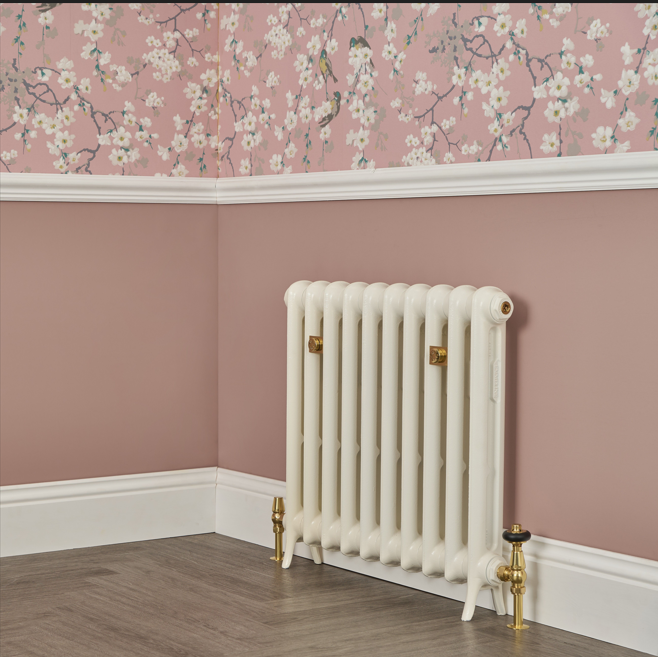
Our core range of popular neutrals and monochrome finishes, developed especially for cast iron.
We have refined our painting process over the years ensuring the finish is hard-wearing and stays looking great.
Each radiator is dip primed and cured with infra-red, then dipped and cured again. After priming, radiators get two coats of hard-wearing two-pack paint, again with infra-red curing in between.
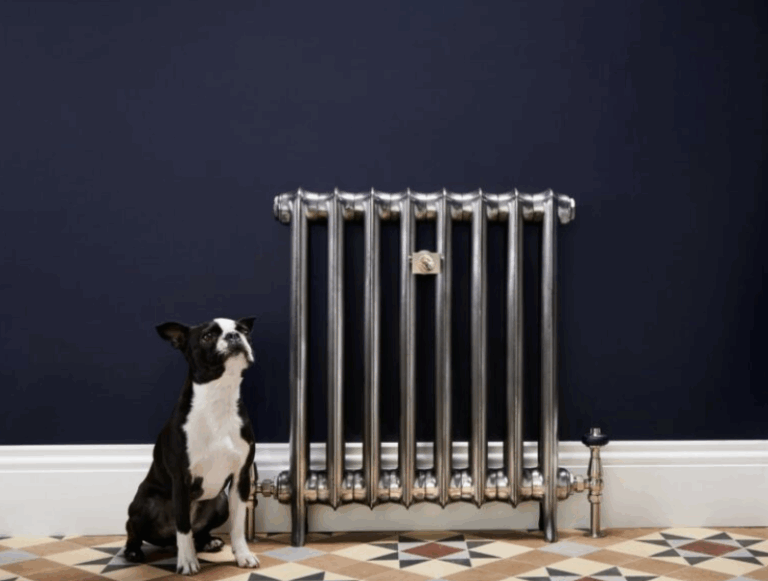
Bare Metals
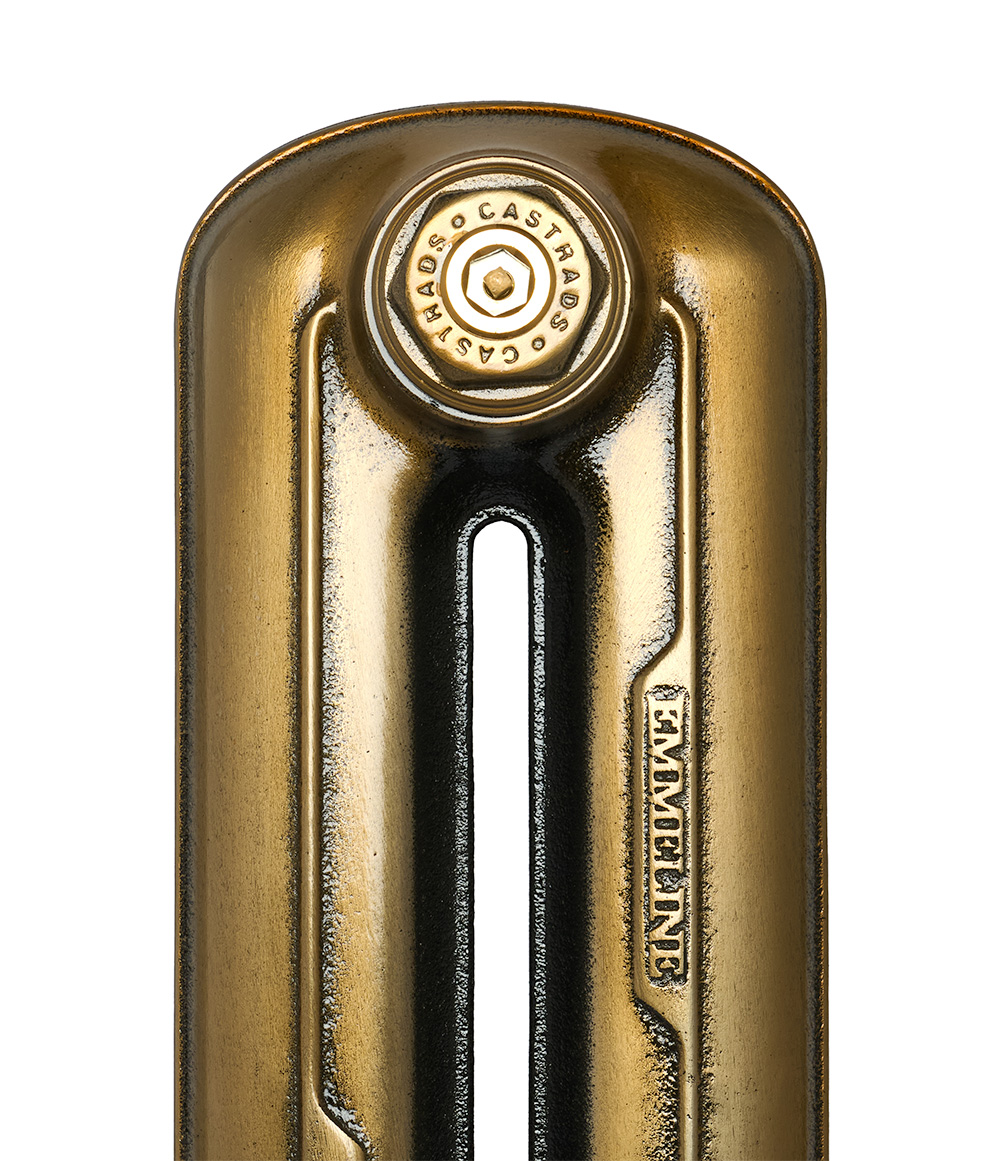
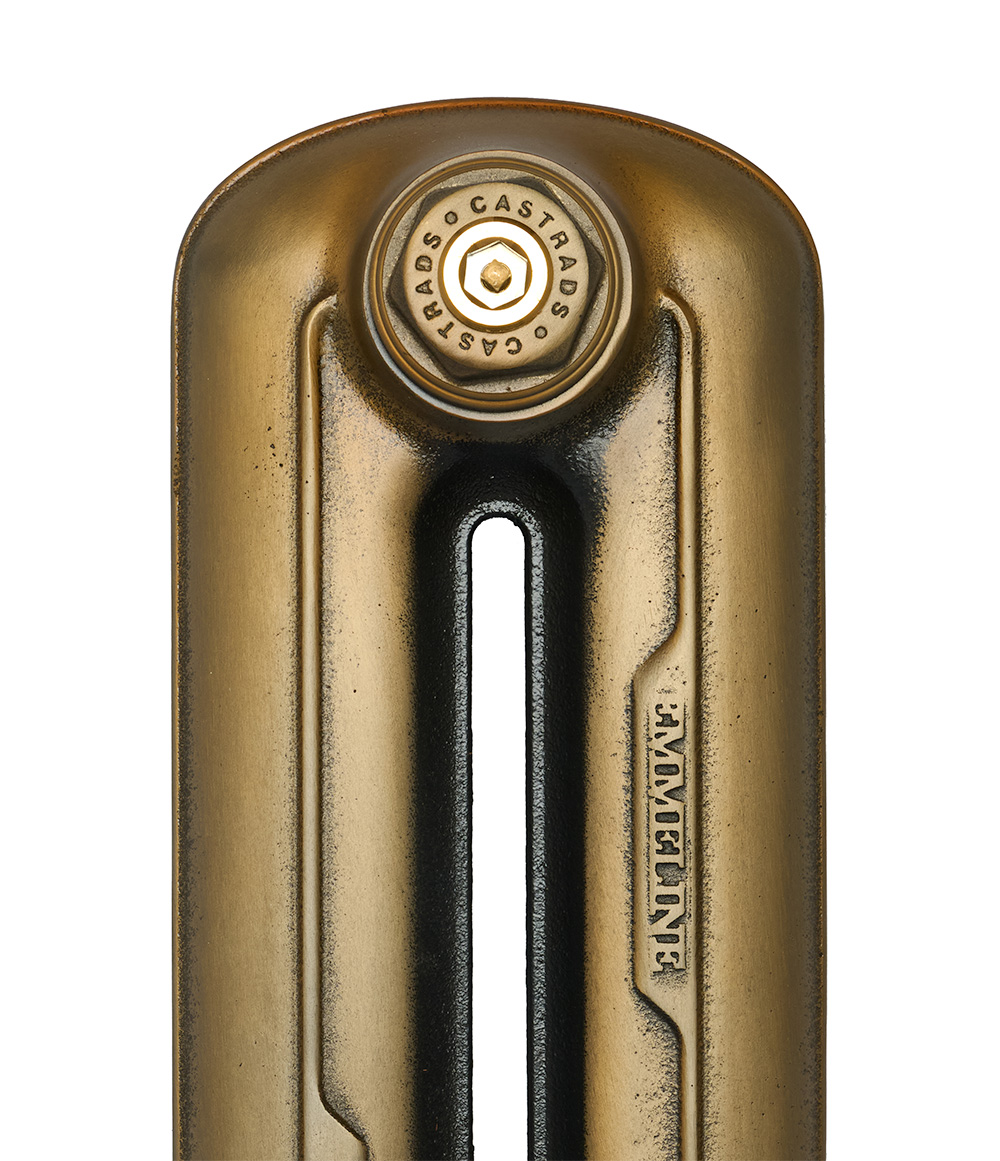


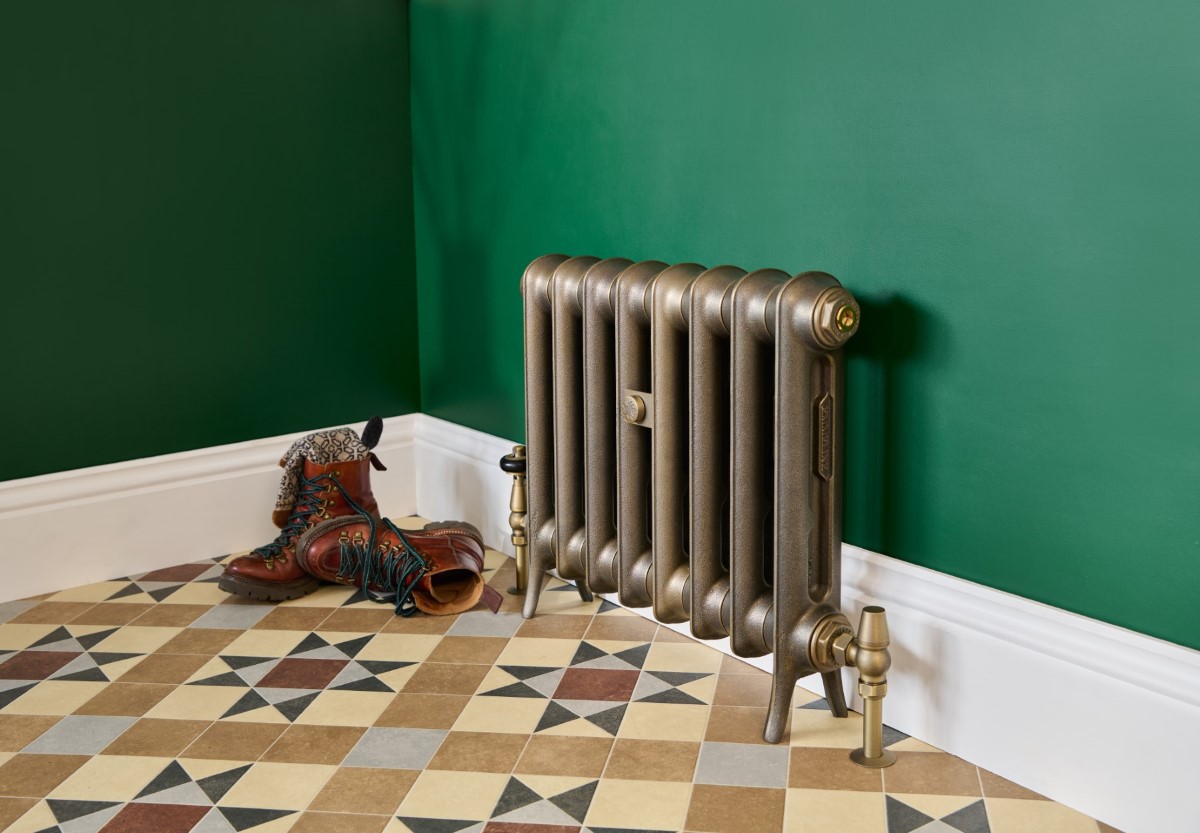
Bare Metal Collection
Brilliant, lustrous finishes produced by hand using lacquers and specialist polishing techniques.
We begin by tumbling the cast iron sections for 10 hours in a giant drum filled with ceramic pebbles. The sections are then tumbled for a further 8 hours with small porcelain beads and water.
Powdered porcelain from the beads makes a paste with the water which gives a high shine to the surface of the iron.
We then use layers of primer and tinted lacquers to create deep colours that allow the lustre of the metal to show through.
Polished by hand
For the polished finishes as well as Natural Brass and Aged Gold, the process is entirely manual. Each section is carefully polished against a spinning wheel through 12 grades of increasingly fine abrasive to achieve the various effects. They are then lacquered to complete the finish.
Polishing cast iron is a highly labour-intensive process. For that reason, we only polish those surfaces that will be seen. The side of the radiator that will face the wall is left lacquered but unpolished. This helps us keep the price you pay as low as possible. If all of the radiator will be seen please advise us and we will polish the whole radiator.
Branded Paints
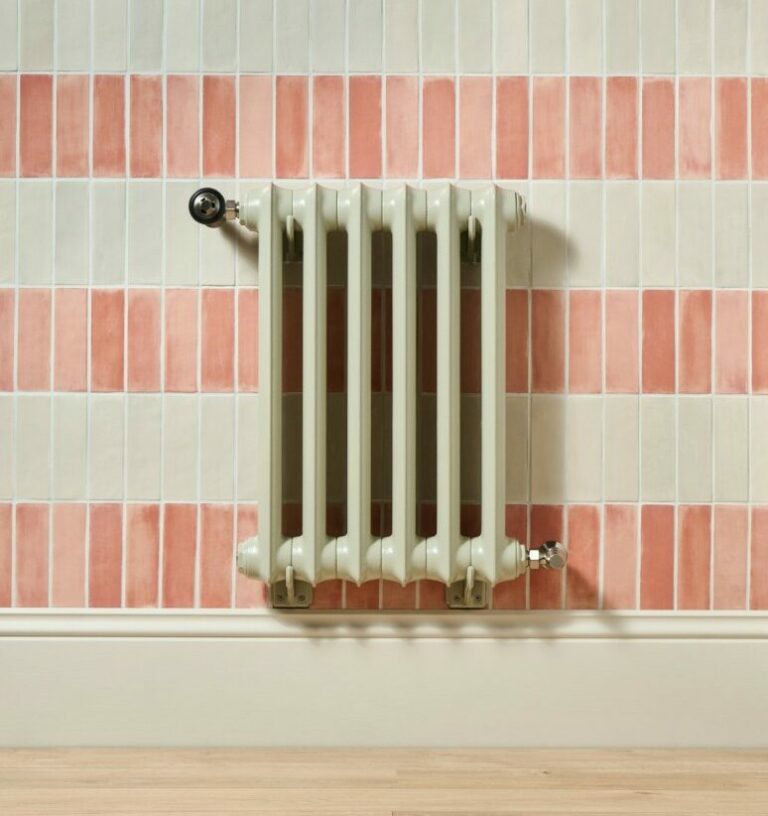
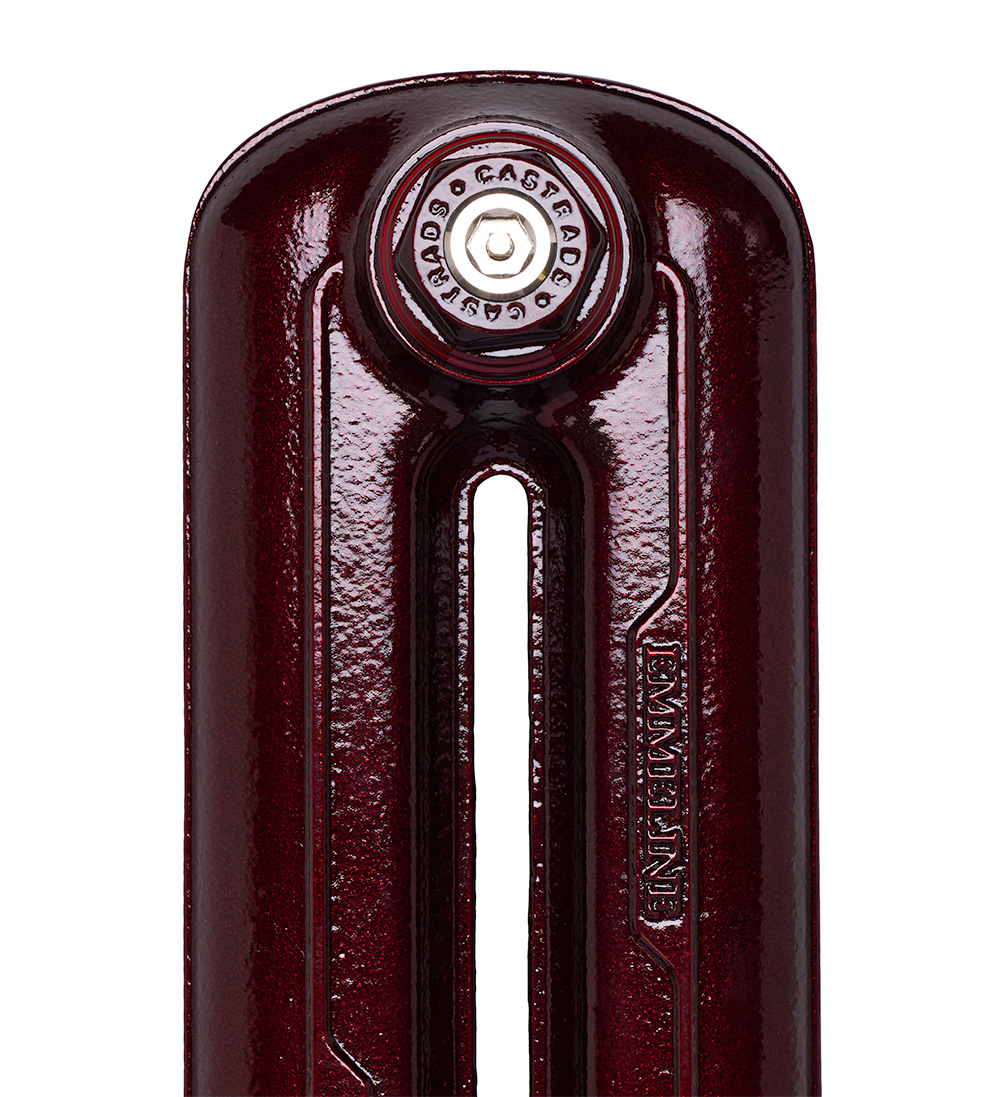
Make it a Match
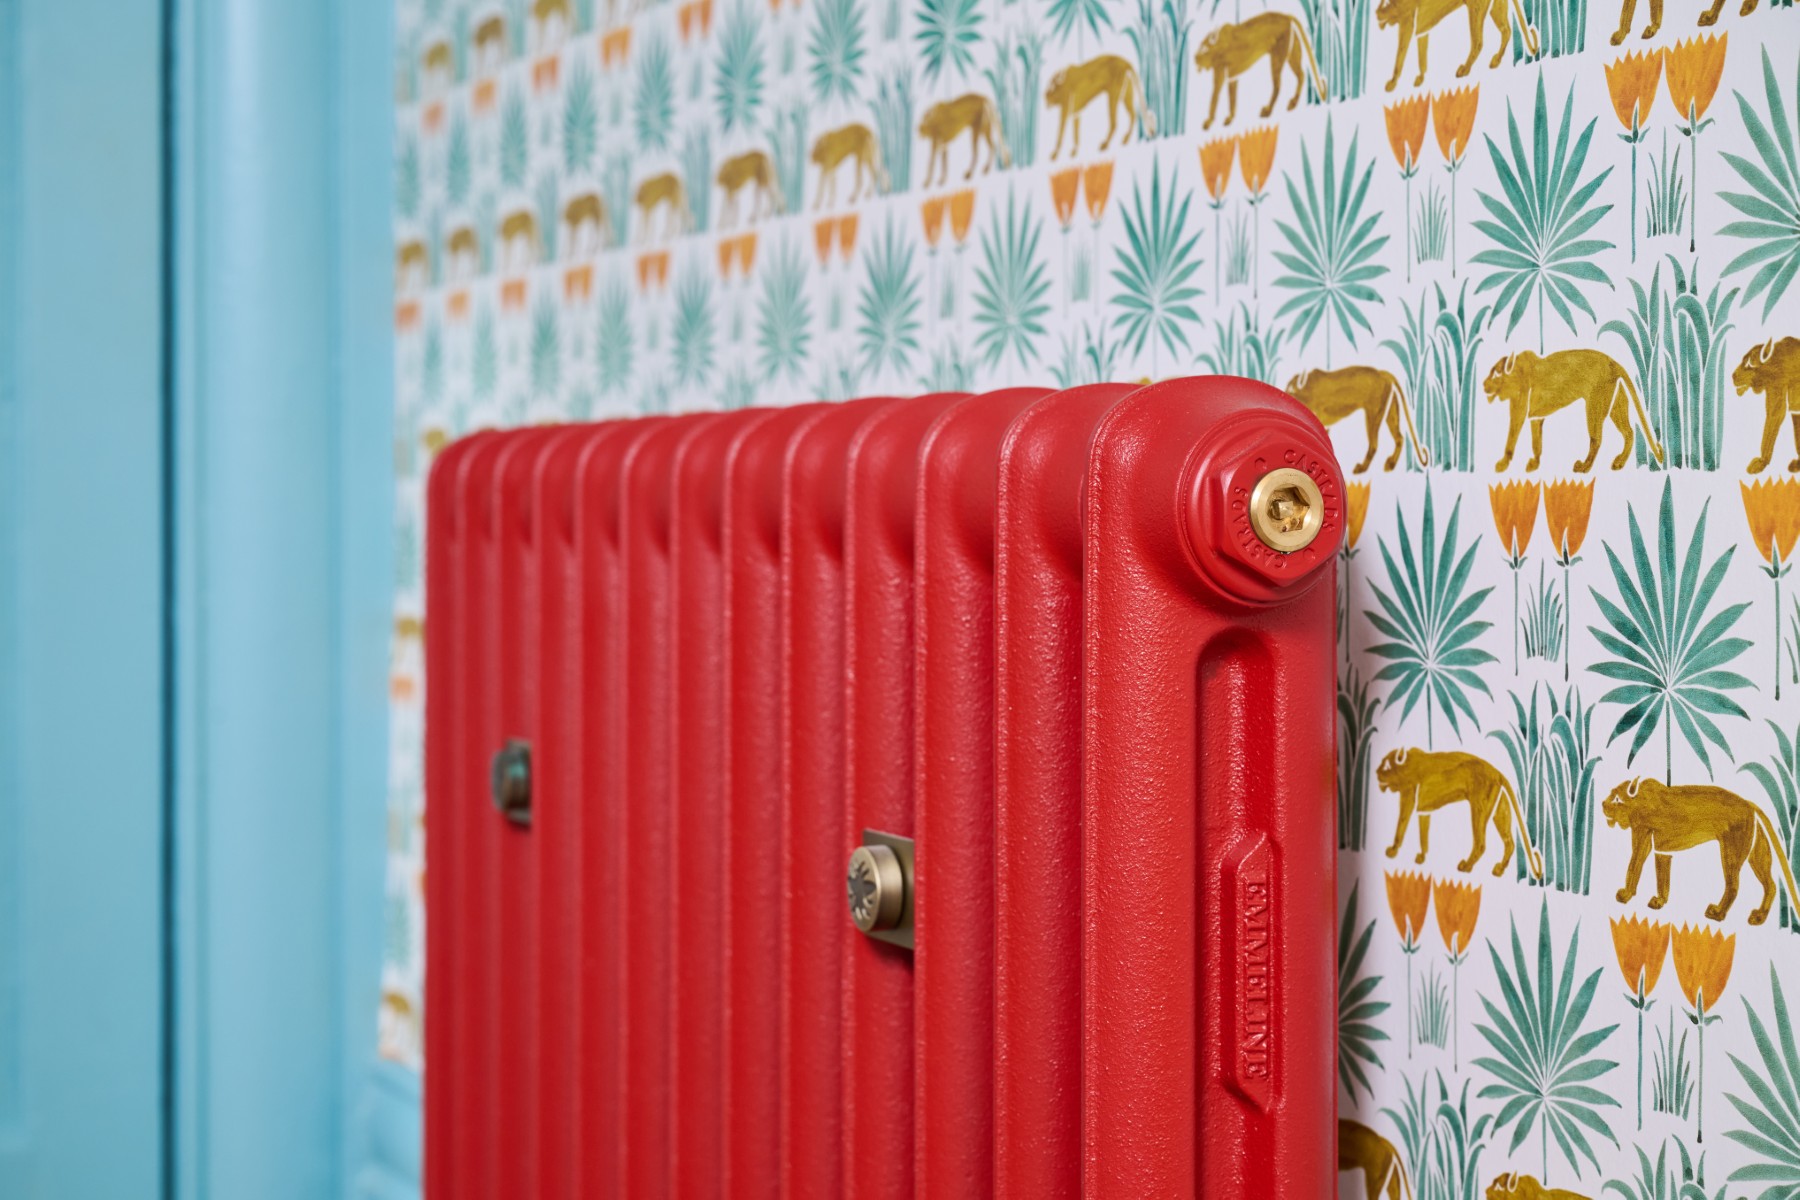
For a seamless drench or a vibrant pop, choose your colours from our favourite paint collections.
We use genuine branded paints under licence from Little Greene, Farrow & Ball and Benjamin Moore. Radiators are finished with the same dip prime and painting process as for our Signature Collection finishes for intense colour and a tough, long-lasting finish.
We can’t offer cast iron samples of the branded paints because there are so many to choose from but follow us on Instagram to see our radiators in their sublime colours. For colour cards and plenty more detail on their paints head to the retailers’ websites. We don’t list every single branded paint finish online. If there’s something you’d like, get in touch.
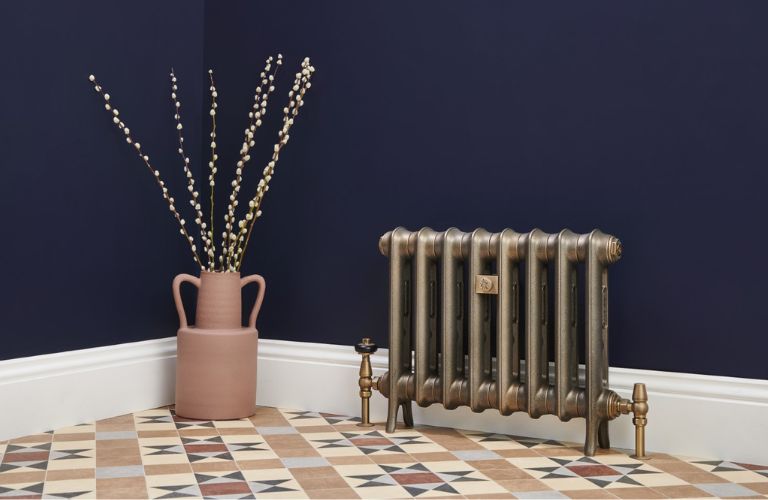
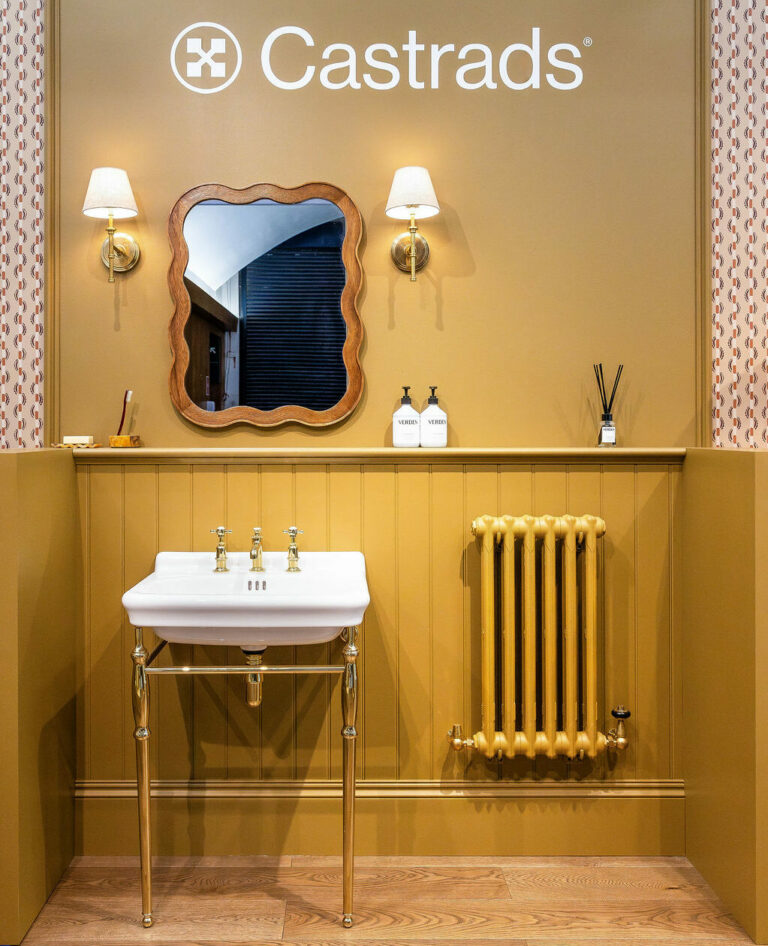
Image: Mercury 2 Column 760mm in COAT Big Hoops Golden Ochre
Little Greene is a British family-run company with a strong eco-friendly ethos. They specialise in historic paints and wallpapers which they produce in North Wales.
Like Castrads, they were established in Manchester and continue to take inspiration from the long industrial heritage of the area.
Visit Little Greene
Farrow & Ball is based in Dorset where they produce their artisanal paints and wallpapers inspired by National Trust archives.
Our Chelsea showrooms are right next door to each other on Fulham Road, where they opened their first flagship store back in 1996.
Visit Farrow & BallFounded in Brooklyn in 1883, Benjamin Moore is one of North America’s leading suppliers of premium paints.
A favourite brand among our American customers, Benjamin Moore is now available in the UK with their London store located a few doors away from our own in Chelsea’s interiors quarter.
Visit Benjamin MooreCOAT was born to deliver beautiful paints in curated colours, directly to the customer. They are the world’s only Climate Positive Certified paint company. They make their paint to order meaning zero waste and fewer nasties.
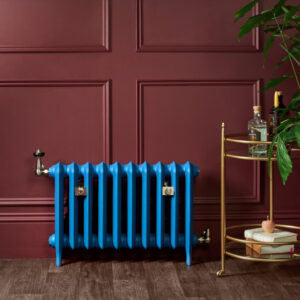
We collaborated closely with COAT on our stand for Decorex 2025 with their warm ochre ‘Big Hoops’ playing a starring role on both the walls and our Mercury radiator.
Established in 1884, Mylands is Britain’s oldest, family-owned and run paint and polishes manufacturer. Mylands has been perfecting the art of fine, richly pigmented paints with real depth of colour for over 135 years in the heart of London.
Castrads Stockport showroom features several colours from The Dependables – a bijoux paint range by Beata Heuman developed exclusively with Mylands.