-300x204.jpg)


Radiator Assembly Toolkit ATK2
$280.00
Additional information
| Weight | 58.42 lbs |
|---|---|
| Dimensions | 36.0 x 7.3 x 4.2 inch |
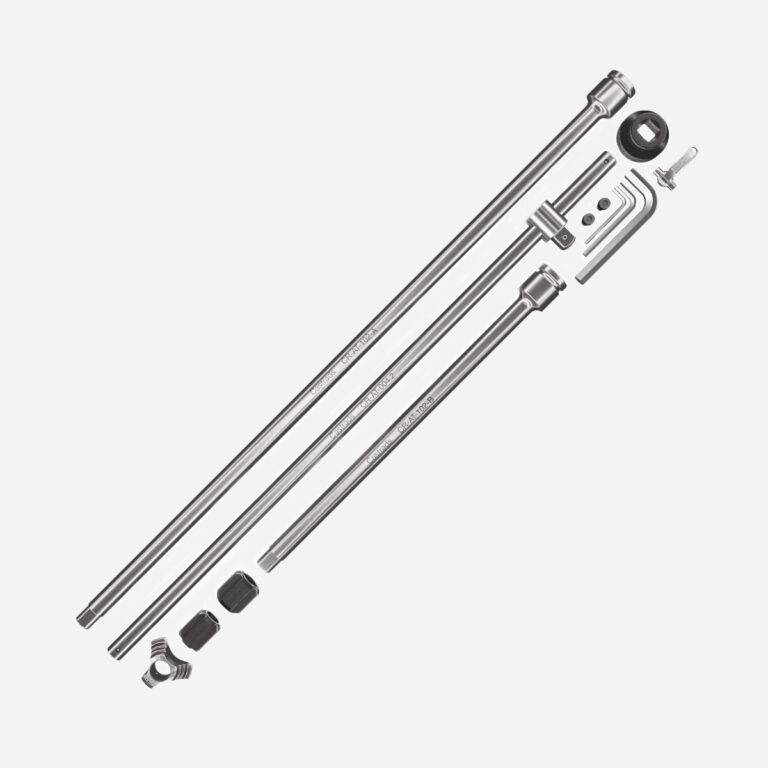
The ultimate cast iron radiator assembly toolkit. Comprises scratchless socket, assembly toolheads for either 1¼” or 1½” steel joining nipples and two lengths of extension to assemble oversized cast iron radiators of various sizes.
Designed only by Castrads. Made only for Castrads.
Radiator Assembly Toolkit
Joining Forces
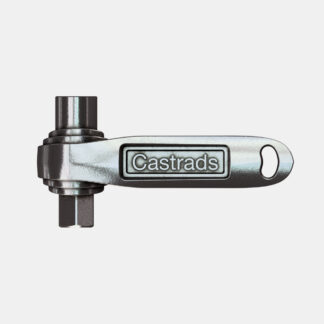
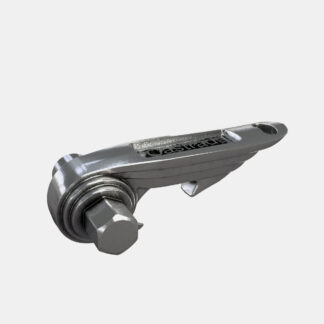
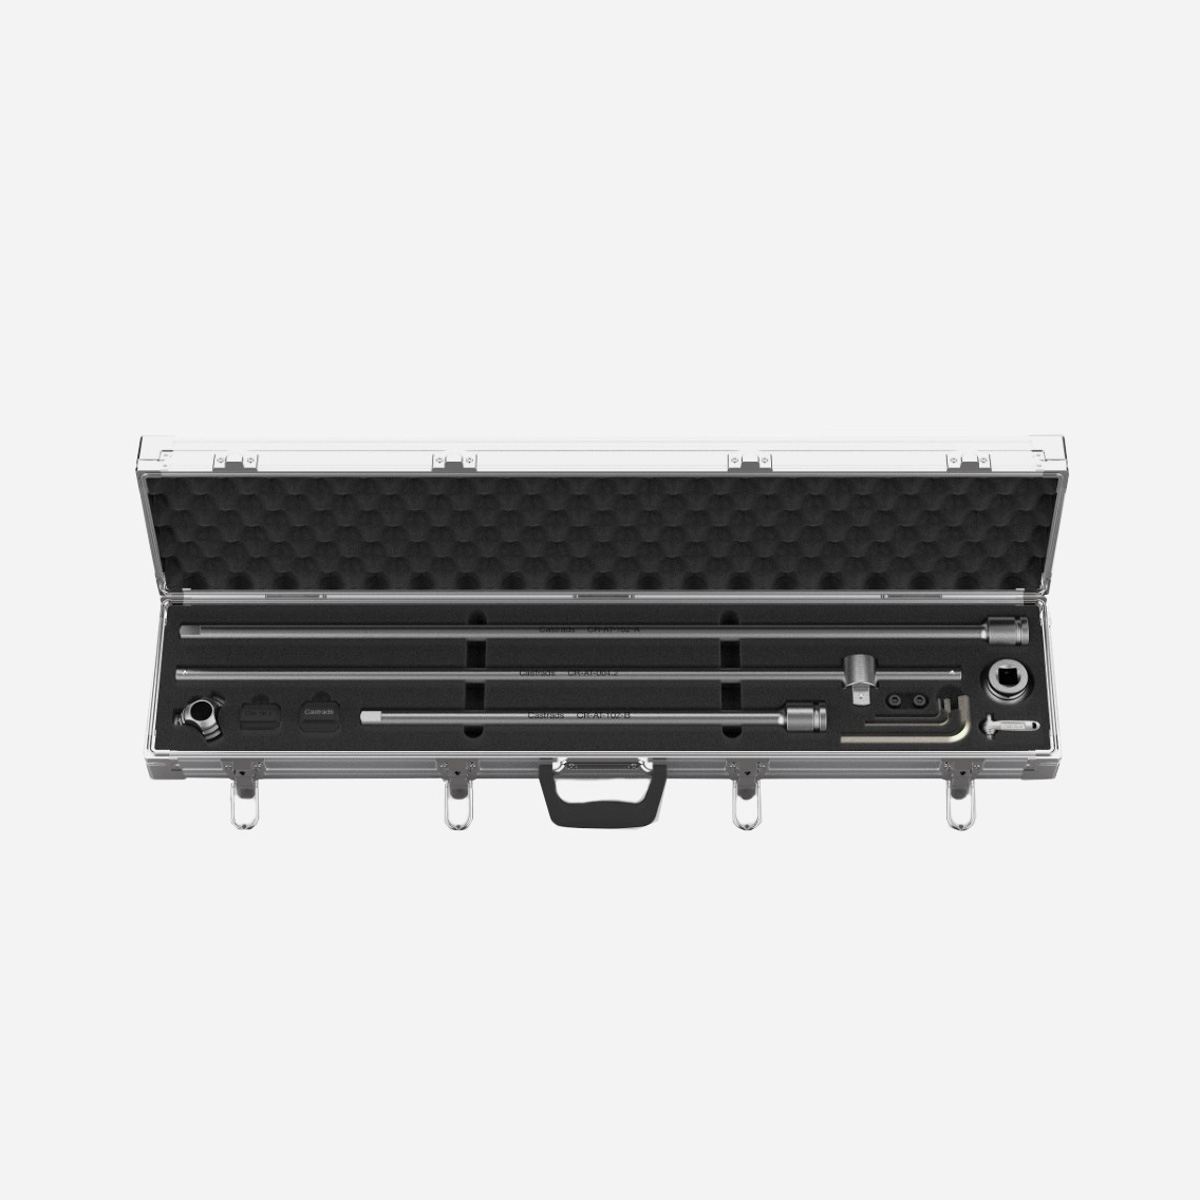
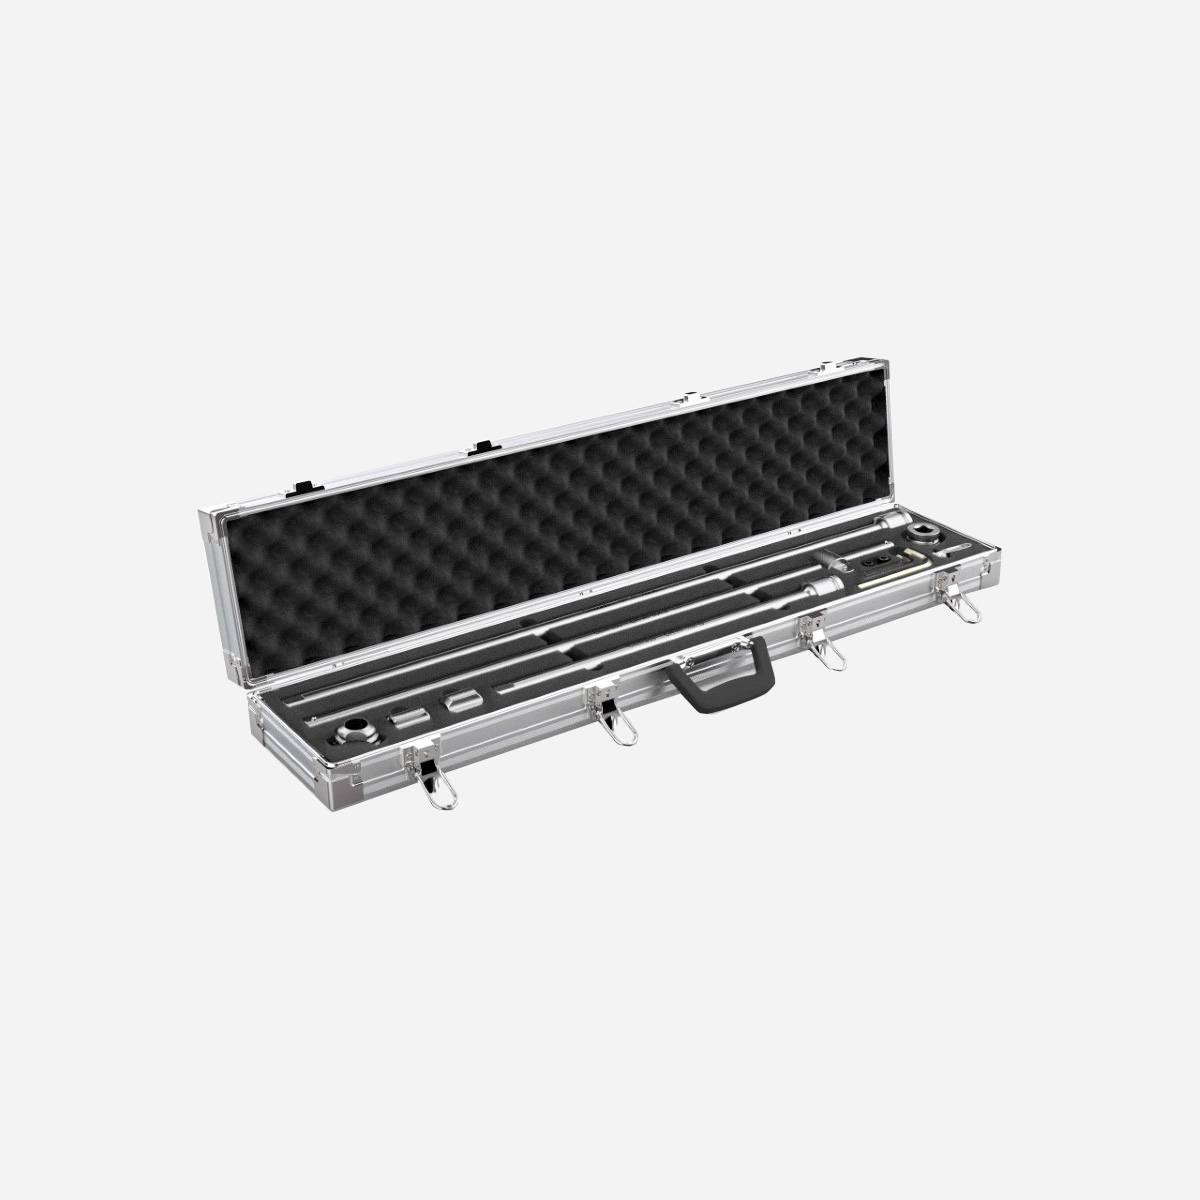
The only toolkit you’ll ever need for assembling Castrads cast iron radiators on site. Contains non-marking 42mm socket, two lengths of extension, assembly tool heads for both 1¼” IPS and 1½” IPS threaded joining nipples and 3′ long sliding T-bar (¾” drive).
Also included are a depth stop to make finding the join easier and a Utility Bleed Key, perfect for bleeding hydronic radiators, closing our lockshield valves and cracking open a cold one.

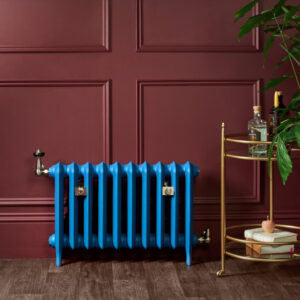
Cast Iron Radiator Assembly Made Easy
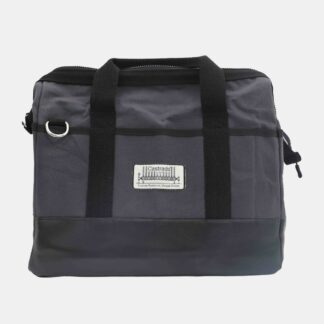
Toolkits are available as a one-time purchase or, as part of an order of oversized radiators, as a rental – the cost is refunded when the kit is returned after use.
Instructions are included with the kit and you can also see our Cast Iron Radiator Assembly Guide (below) for additional help.
Toolkit Contents
| # | Part name | Qty | Description |
|---|---|---|---|
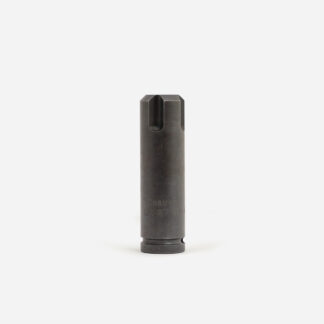
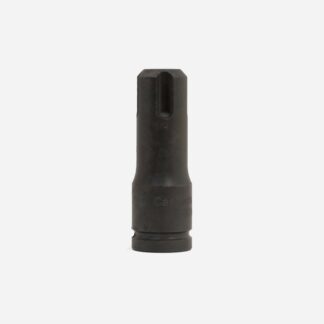
| 1 | CR-AT-101-A | 1 |
1½” assembly tool head
|
| 2 | CR-AT-001-B | 1 | 1¼” assembly tool head |
| 3 | CR-AT-102-A | 1 | 32″ extension bar |
| 4 | CR-AT-102-B | 1 | 16″ extension bar |
| 6 | CR-AT-004 | 1 | Sliding T-bar – ¾” drive |
| 9 | CR-AT-005-C | 1 | Scratchless Socket – 42mm |
| 13 | CR-AT-DS | 1 | Depth stop |
| 14 | M8 Bolt | 3 | M8 bolt |
| 15 | #6 ALLEN KEY | 1 | 6mm Allen key for M8 bolt |
| 16 | BLK-AD-04 | 1 | Utility Bleed Key |