-300x200.jpg)


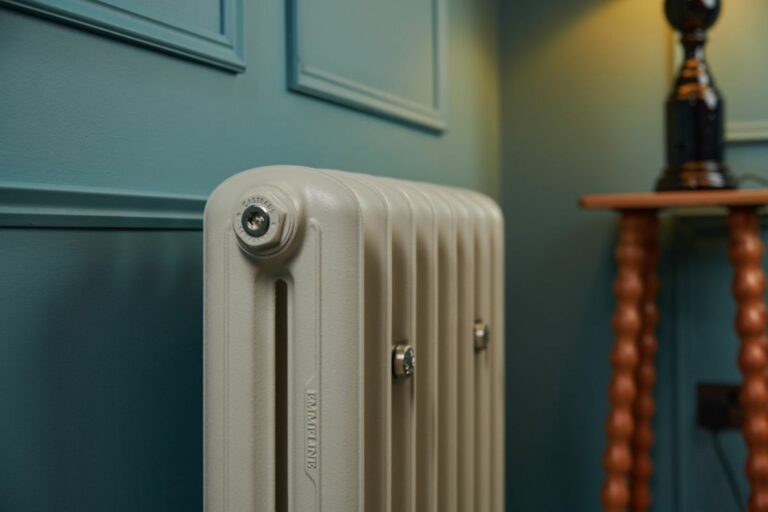
Cast Iron Radiators
A carefully curated range of styles, an unrivalled range of finishes. Custom sizing up to 2.5m long. Made to order in Manchester, UK, and delivered in 7-8 weeks.
Refurbishing an original cast iron radiator? Read about our restoration service.
Made to order, built to last
How much do cast iron radiators cost?
The prices below are averaged across our entire range. They include the cost of the cast iron radiator and all accessories required for installation.
| Signature Collection | Farrow & Ball or Little Greene | Bare Metal | |
| Small Radiator | £750 | £800 | £1,150 |
| Medium Radiator | £975 | £1,150 | £1,575 |
| Large Radiator | £1,200 | £1,500 | £2,000 |
A three bed house typically requires about 12 radiators costing an average of £10,000 to £18,000 dependent on finish.
If you have inquiries or seek precise pricing details, feel free to reach out to our team. Contact a staff member to request a customized quote.
Contact Us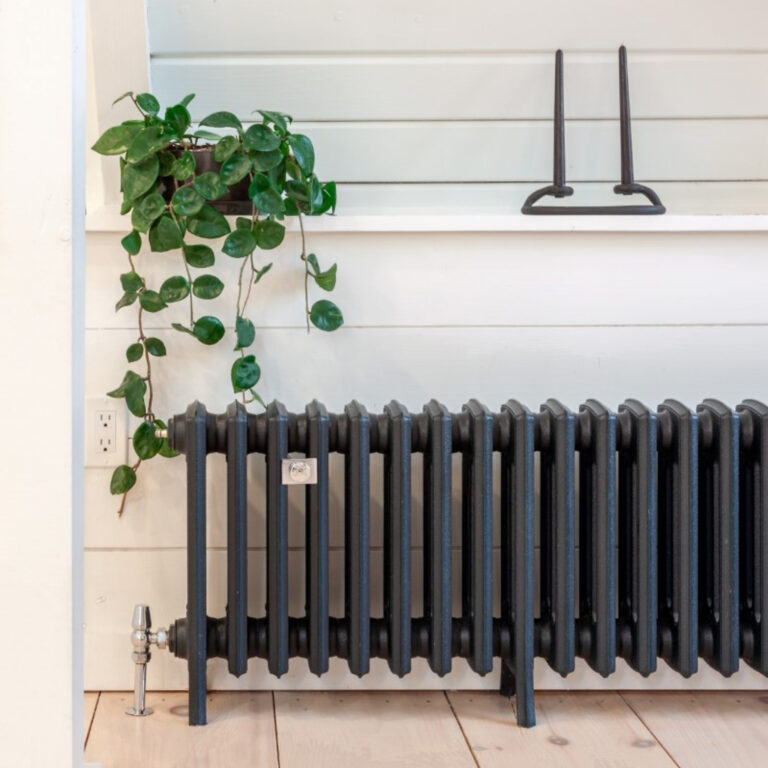
Where do I start?
Begin by calculating the heat output you need for each room using our calculator. You will then have a figure given in British Thermal Units (BTUs) which can be provided by one single radiator or divided across several radiators within the room. Available space, location of windows and any existing pipework you are working with will all impact the number, size and placement of your radiators.
For help with calculating your BTUs consider booking an one-to-one consultation, where one of our team can walk you through the process in person or virtually.
-768x512.jpg)
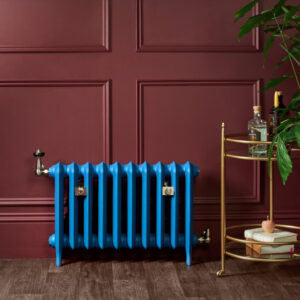
Ordering Your Cast Iron Radiator
Our Radiator Builder makes it easy to build, name and keep track of multiple radiators across several rooms.
First select your model, depth, height and number of sections. Choose a paint or polish from our Bare Metals or Signature Collection. We also offer any branded colour from Farrow & Ball, Little Greene or Benjamin Moore, to name a few.
Next, decide whether you want your radiator floor standing or wall mounted. You can then either name and save your radiator or continue to add valves, pipe shrouds and wall stays.
Explore The Radiator Builder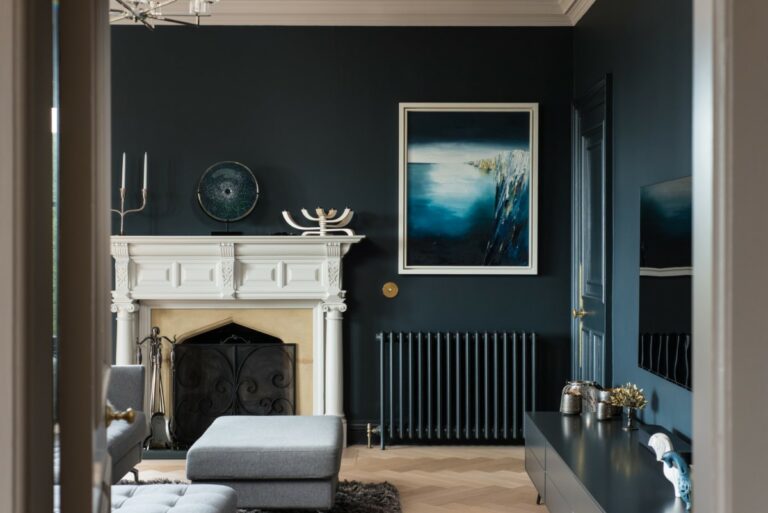
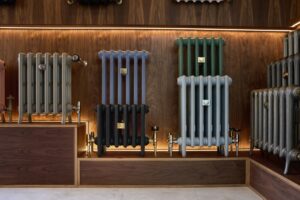
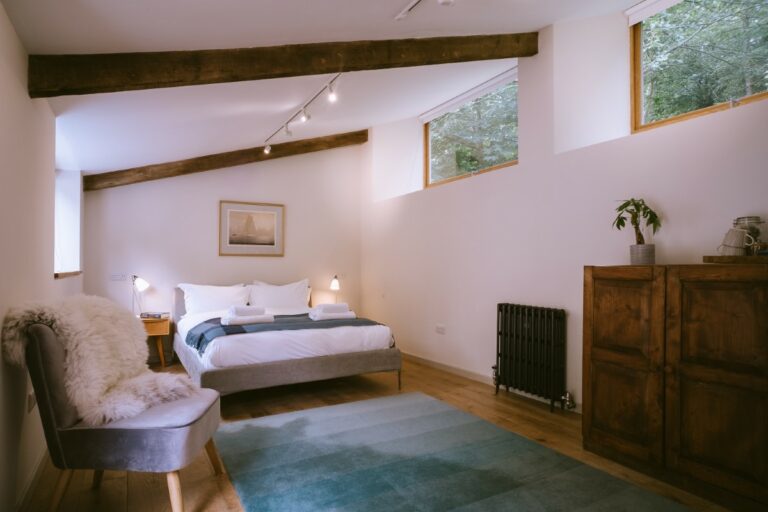
How will my cast iron radiators be delivered?
We offer free delivery by pallet network. Cast iron radiators arrive packaged on a pallet and are set down outside the property but are not brought into the house.
For an additional charge, within Greater Manchester and Greater London, we can provide a two-man delivery service, which allows us to unpack the radiators, bring them into your home and place them into position ready for installation.
We take the utmost care to deliver a product that will heat your home for decades to come. Our guarantee ensures that our non-electrical products, including steel and cast iron radiators, radiator valves, wall stays, tools and component parts are free from manufacturing defects for 25 years from the date of delivery.
Read Our Terms And Conditions-768x676.jpg)
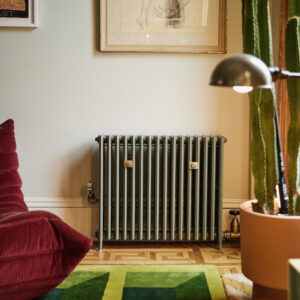
Are cast iron radiators heat-pump compatible?
Just because cast iron radiators were born in the coal-fired Victorian era does not mean they are stuck there. All of our models are compatible with heat pumps and other renewable energy sources.
In fact, air and ground source heat pumps produce low-frequency heat cycles in a very similar way to the coal boilers that cast iron radiators were originally designed for – both are slow to warm up and slow to cool down.
The high thermal mass of cast iron paired with the large surface area and high internal volume of a sectional radiator design are features that made them run well on coal. The same features make them equally well suited to the slower heat cycles and lower water temperatures you get with a heat pump.
Traditional Radiators Redefined
Rooted in architectural salvage, our company owes its essence to time-tested veteran products. Today, our mission is to seamlessly integrate these classics into the modern world—outfitting them with thermostatic valves or incorporating them into heat pump systems. Models such as Emmeline and Mercury, our newest additions, draw significant inspiration from revered classics, paying homage to the giants of the past.
In preserving classic aesthetics and period charm, our pride lies in transitioning them into the modern age—where traditional radiators are subtly redefined.
If you’re lacking some home heating inspiration, feel free to browse our case studies!
Case Studies